
Mastering Vapor Barrier Installation: A Comprehensive Guide to Effective Moisture Control
Understanding Vapor Barrier Installation
What is a Vapor Barrier?
A vapor barrier is a material designed to prevent moisture from penetrating into areas where it can cause damage, such as crawl spaces, basements, and walls. These barriers serve as protective layers, blocking dampness and humidity from the ground, which can lead to mold growth, structural damage, and poor indoor air quality. Proper Vapor Barrier Installation is critical for maintaining a healthy living environment and prolonging the lifespan of a home’s structure.
Common Materials Used
Vapor barriers are typically made from materials that have low permeability to water vapor. Commonly used materials include:
- Polyethylene Sheeting: One of the most common and cost-effective options. It comes in various thicknesses, typically ranging from 6 to 20 mil.
- Reinforced Plastic: Offers enhanced durability and resistance to punctures and tears. This is often used in larger installations.
- Foil-Faced Barriers: These materials reflect heat and are often used in combination with insulation to enhance energy efficiency.
Benefits of Vapor Barrier Installation
The installation of a vapor barrier presents multiple benefits, including:
- Mold Prevention: By controlling moisture levels, vapor barriers help prevent mold growth, which can negatively impact health and property.
- Energy Efficiency: With a proper barrier, homes maintain more consistent temperatures, resulting in lower energy bills.
- Structural Protection: Preventing moisture from entering walls and foundations helps avoid water damage, wood rot, and pest infestations.
Preparation for Vapor Barrier Installation
Tools and Materials Required
Before starting the installation process, gather the following tools and materials:
- Vapor barrier material (e.g., polyethylene sheeting)
- Utility knife or shears for cutting
- Seam tape or adhesive
- Staple gun or tacking materials (if applicable)
- Gloves, knee pads, and safety goggles for personal protection
Assessing the Installation Area
Before installation can take place, assess the installation area. Look for signs of moisture, mold, or structural damage that may need addressing prior to installation. Check for:
- Drainage issues around the foundation.
- Existing signs of water intrusion or excessive humidity.
- Clearance space for installation beneath crawl space openings.
Cleaning and Preparing the Crawl Space
Ensure the installation area is clean and debris-free. Remove any old insulation, rock, or contaminants that could hinder the barrier’s effectiveness. Level out the ground, covering any small holes or crevices that could cause moisture to pool.
Step-by-Step Guide to Vapor Barrier Installation
Measuring and Cutting the Vapor Barrier
Once the area is prepared, measure the space accurately to ensure there is enough material. Cut the vapor barrier to size, allowing for overlap at seams and edges. This overlap is essential for creating an effective moisture seal.
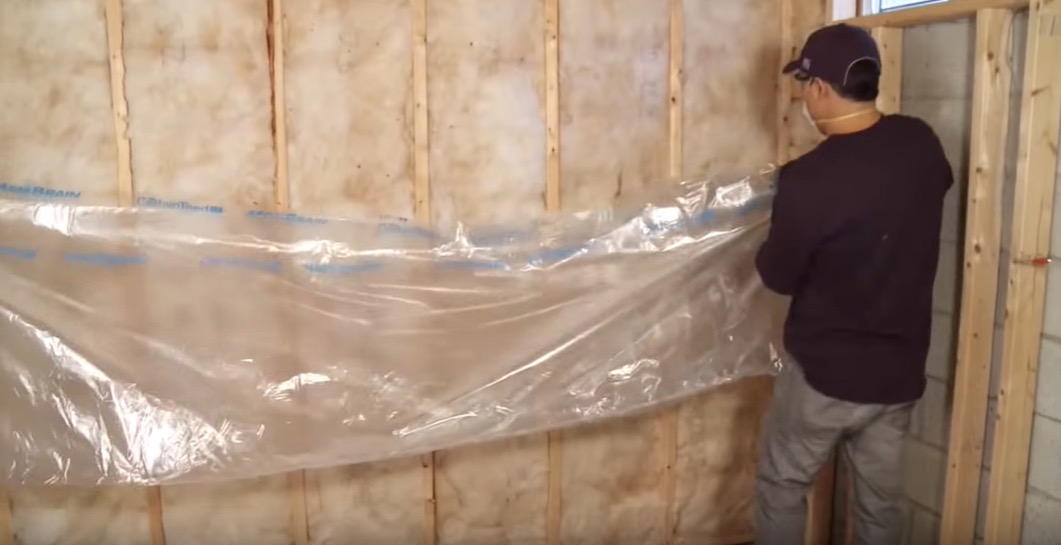
Positioning the Barrier Correctly
Position the vapor barrier flat on the ground and up the walls if required. Be sure to smooth out any wrinkles or folds in the material, as these can impede its overall effectiveness. The bottom edge should be securely placed against the ground to create a proper seal.
Sealing Joints and Edges
Utilize seam tape or adhesive to seal all joints and edges of the vapor barrier. This step is crucial as it ensures that moisture cannot seep through these potential weak points. Thoroughly press down on the tape to secure it effectively.
Common Mistakes in Vapor Barrier Installation
Poor Sealing Techniques
One of the most common mistakes made during installation is inadequate sealing of joints and edges. It’s critical to ensure that all seams are taped thoroughly, or else moisture may still infiltrate.
Overlooking Ground Preparation
A poorly prepared ground can lead to water pooling and eventually compromise the integrity of the barrier. Proper cleaning and leveling are vital.
Using Inappropriate Materials
Not all vapor barrier materials are suitable for every environment. Using lighter-weight materials in high-moisture areas can end up being ineffective. Always choose a vapor barrier that fits the specific needs of the installation area.
Maintaining Your Vapor Barrier
Regular Inspection Practices
After installation, it is pertinent to conduct regular inspections of the vapor barrier. Inspections should be done at least once a year or after significant weather events to check for damage, wear, or signs of moisture intrusion.
Signs of Damage or Wear
Look for signs such as punctures, tears, or visible mold growth near the vapor barrier. Any signs of trapped moisture should be addressed immediately, to prevent structural issues.
When to Replace the Vapor Barrier
If significant damage is found, or if moisture continues to invade the space despite having the barrier installed, it may be time to replace the barrier entirely. Depending on the material’s quality, a lifespan may vary, so regular assessment is vital.
Frequently Asked Questions
What is the purpose of a vapor barrier?
A vapor barrier is installed primarily to stop moisture from seeping into basements, crawl spaces, and walls, protecting the structure and improving indoor air quality.
What materials are typically used for vapor barriers?
Common materials include polyethylene sheeting, reinforced plastic, and foil-faced barriers. Each material has specific properties that cater to different needs.
Can I install a vapor barrier myself?
Yes, many homeowners can successfully install a vapor barrier with the right tools and preparation. However, for extensive areas, professional assistance may be beneficial.
How do I know if I need a vapor barrier?
If your crawl space feels damp or shows mold growth, especially in humid areas, it’s an indicator that a vapor barrier may be essential.
How often should I inspect my vapor barrier?
Annual inspections are recommended, or after significant weather events, to ensure the barrier remains intact and effective against moisture intrusion.

